Welcome!
Thank you for purchasing some of our plug spawn.
We’re here to help your mushroom growing experience be joyful and fruitful!
What to Expect from your Plug Spawn
New to growing mushrooms?
It might take longer than you expect!
Check out our handy guide here to make sure you are selecting the right plugs for your needs.
Growing mushrooms on wood (instead of grain) produces mushrooms with the highest medicinal and nutritional benefits.
And it gives you years of production.
It’s worth the wait!
Each bag contains 100 plugs which is enough to inoculate 4-5 logs (depending on size)
Below is everything you need to get those plugs into a log and start growing fabulous mushrooms at home.
You can always contact us if you need extra help.
Step 1: Select the right wood species
Each mushroom species has a preference about which wood it wants to grow on. Selecting the right wood is your first step to success.
Here’s a quick reference by mushroom species:
Shiitakes love:
Oak (red or white), Wild Cherry, Sweetgum, American Beech, Paper Birch, Black Birch, Alder.
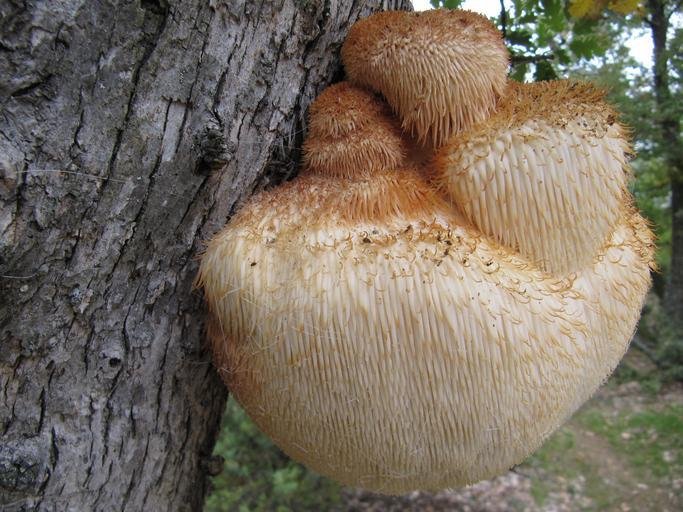
Lion’s Mane love:
Short term (will produce quicker, especially on smaller logs, but not last as long) - Tulip Poplar, Maple, Willow, Paulownia, Tree of Heaven
Long term (will take longer to produce but will keep going for longer, especially with a larger diameter) - Elm, Oak, Chestnut, Black Walnut
Oysters (Pearl and Blue) love:
Tulip Poplar, Maple, Willow, Beech, Birch, Paulownia, and Tree of Heaven
Reishi love:
Oak, Red Maple, Hemlock, Southern Magnolia, Sourwood, and Gum trees.
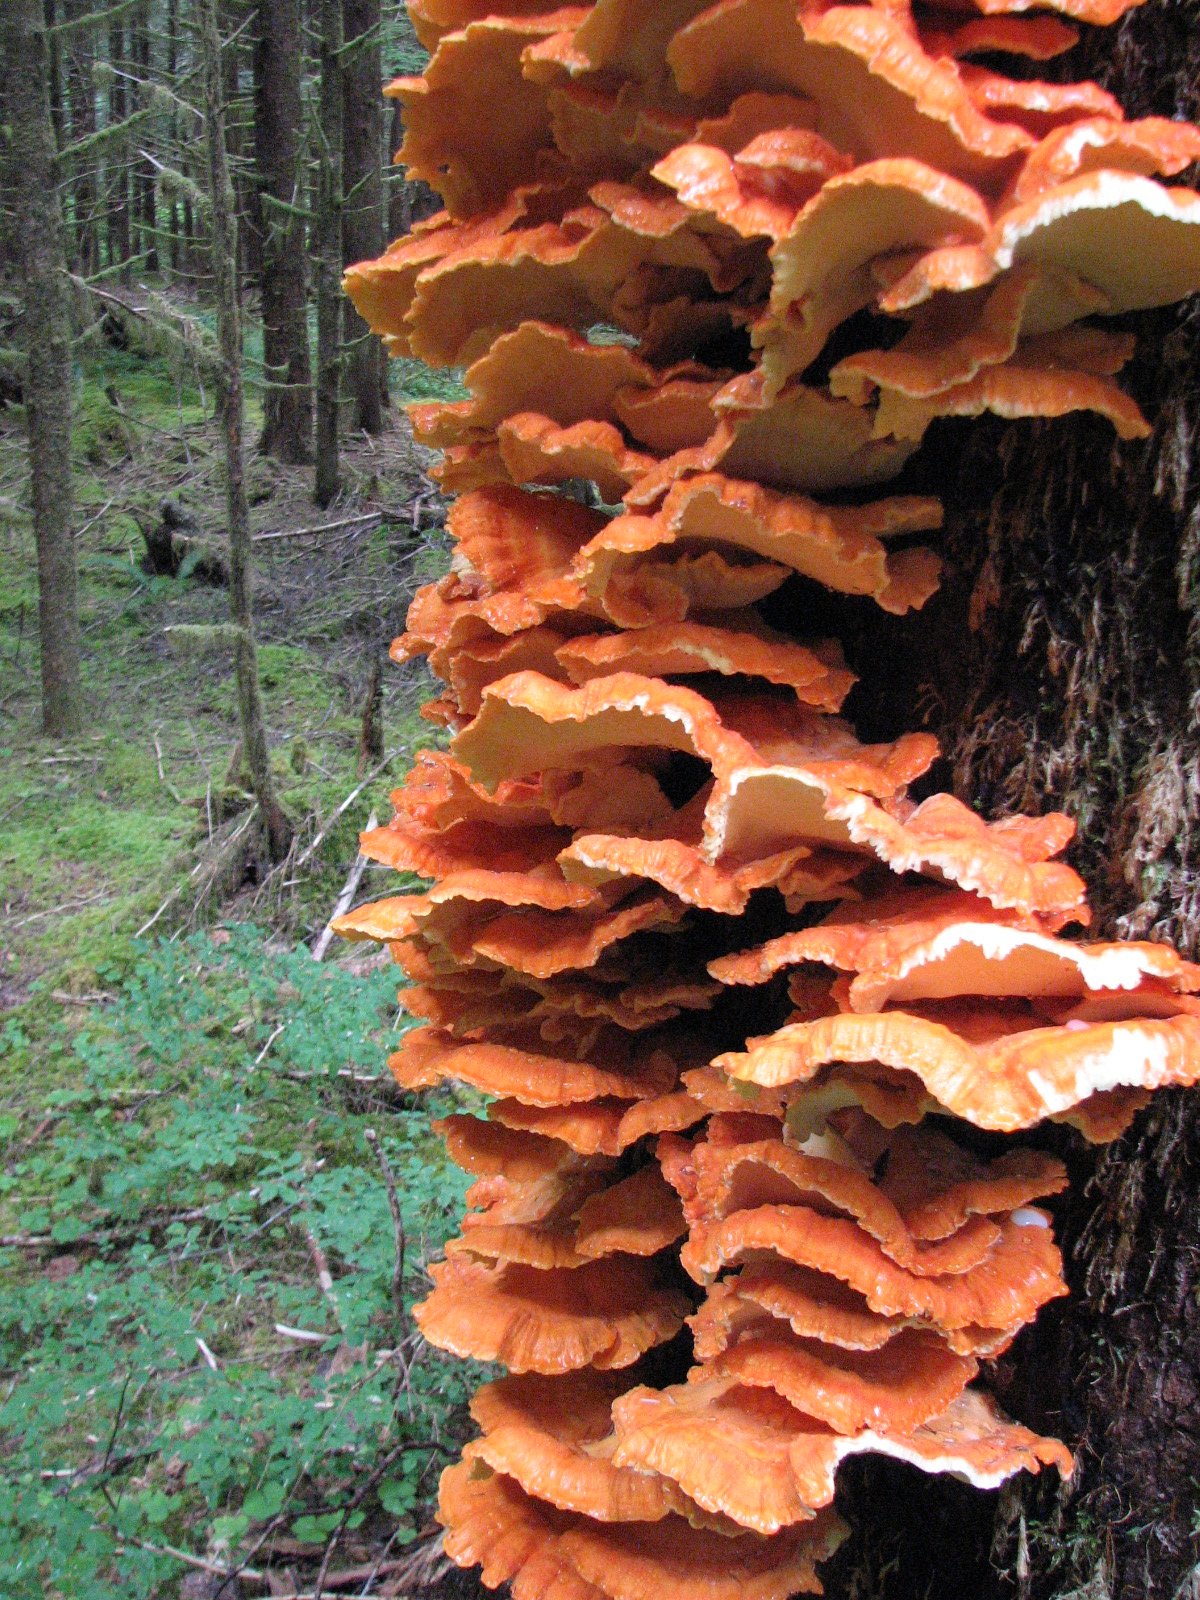
Chicken-of-the-woods love:
Any hardwood (no Locust) and most softwoods
Step 2: Select the right logs
Now you have the best tree species let’s look at which logs to select.
Only use fresh cut logs, that means, those cut down within the last 8 weeks. Don’t use a dead tree you found laying in the forest if you have no idea when it fell. The sooner you can plug them the better.
The best time to cut logs is in the winter and early spring when the trees are dormant.
You can inoculate logs March thru November (in Western North Carolina).
Check the logs have no rotten spots or heartwood rot. The wood should be clear all the way along the log.
Cut logs to around 3-4 feet in length to make them easy to handle.
Keep the bark as intact as you can.
Stack your logs off the ground on a crate or pallet before you plug them.
Choose logs that are between 2 inches and 12 inches in diameter depending on which species of mushrooms you are growing.
For Shiitakes use
4-8 inch diameter logs
For Lion’s Mane
8-12 inches diameter logs and larger
For Oysters (Pearl and Blue)
8 inches plus diameter logs
For Reishi
2 -4 inches diameter logs, keep them to 2-3 feet long
For Chicken-of-the-woods
10 inches plus diameter logs
Step 3: Gather the equipment
Now you have all your logs stacked and ready to receive their plugs gather the few other things you will need.
Your pack of plug spawn
Melted cheese wax (we have a small slow cooker dedicated to cheese wax or you could use an old pot on a camp stove.)
An old paint brush or similar item to spread the cheese wax with.
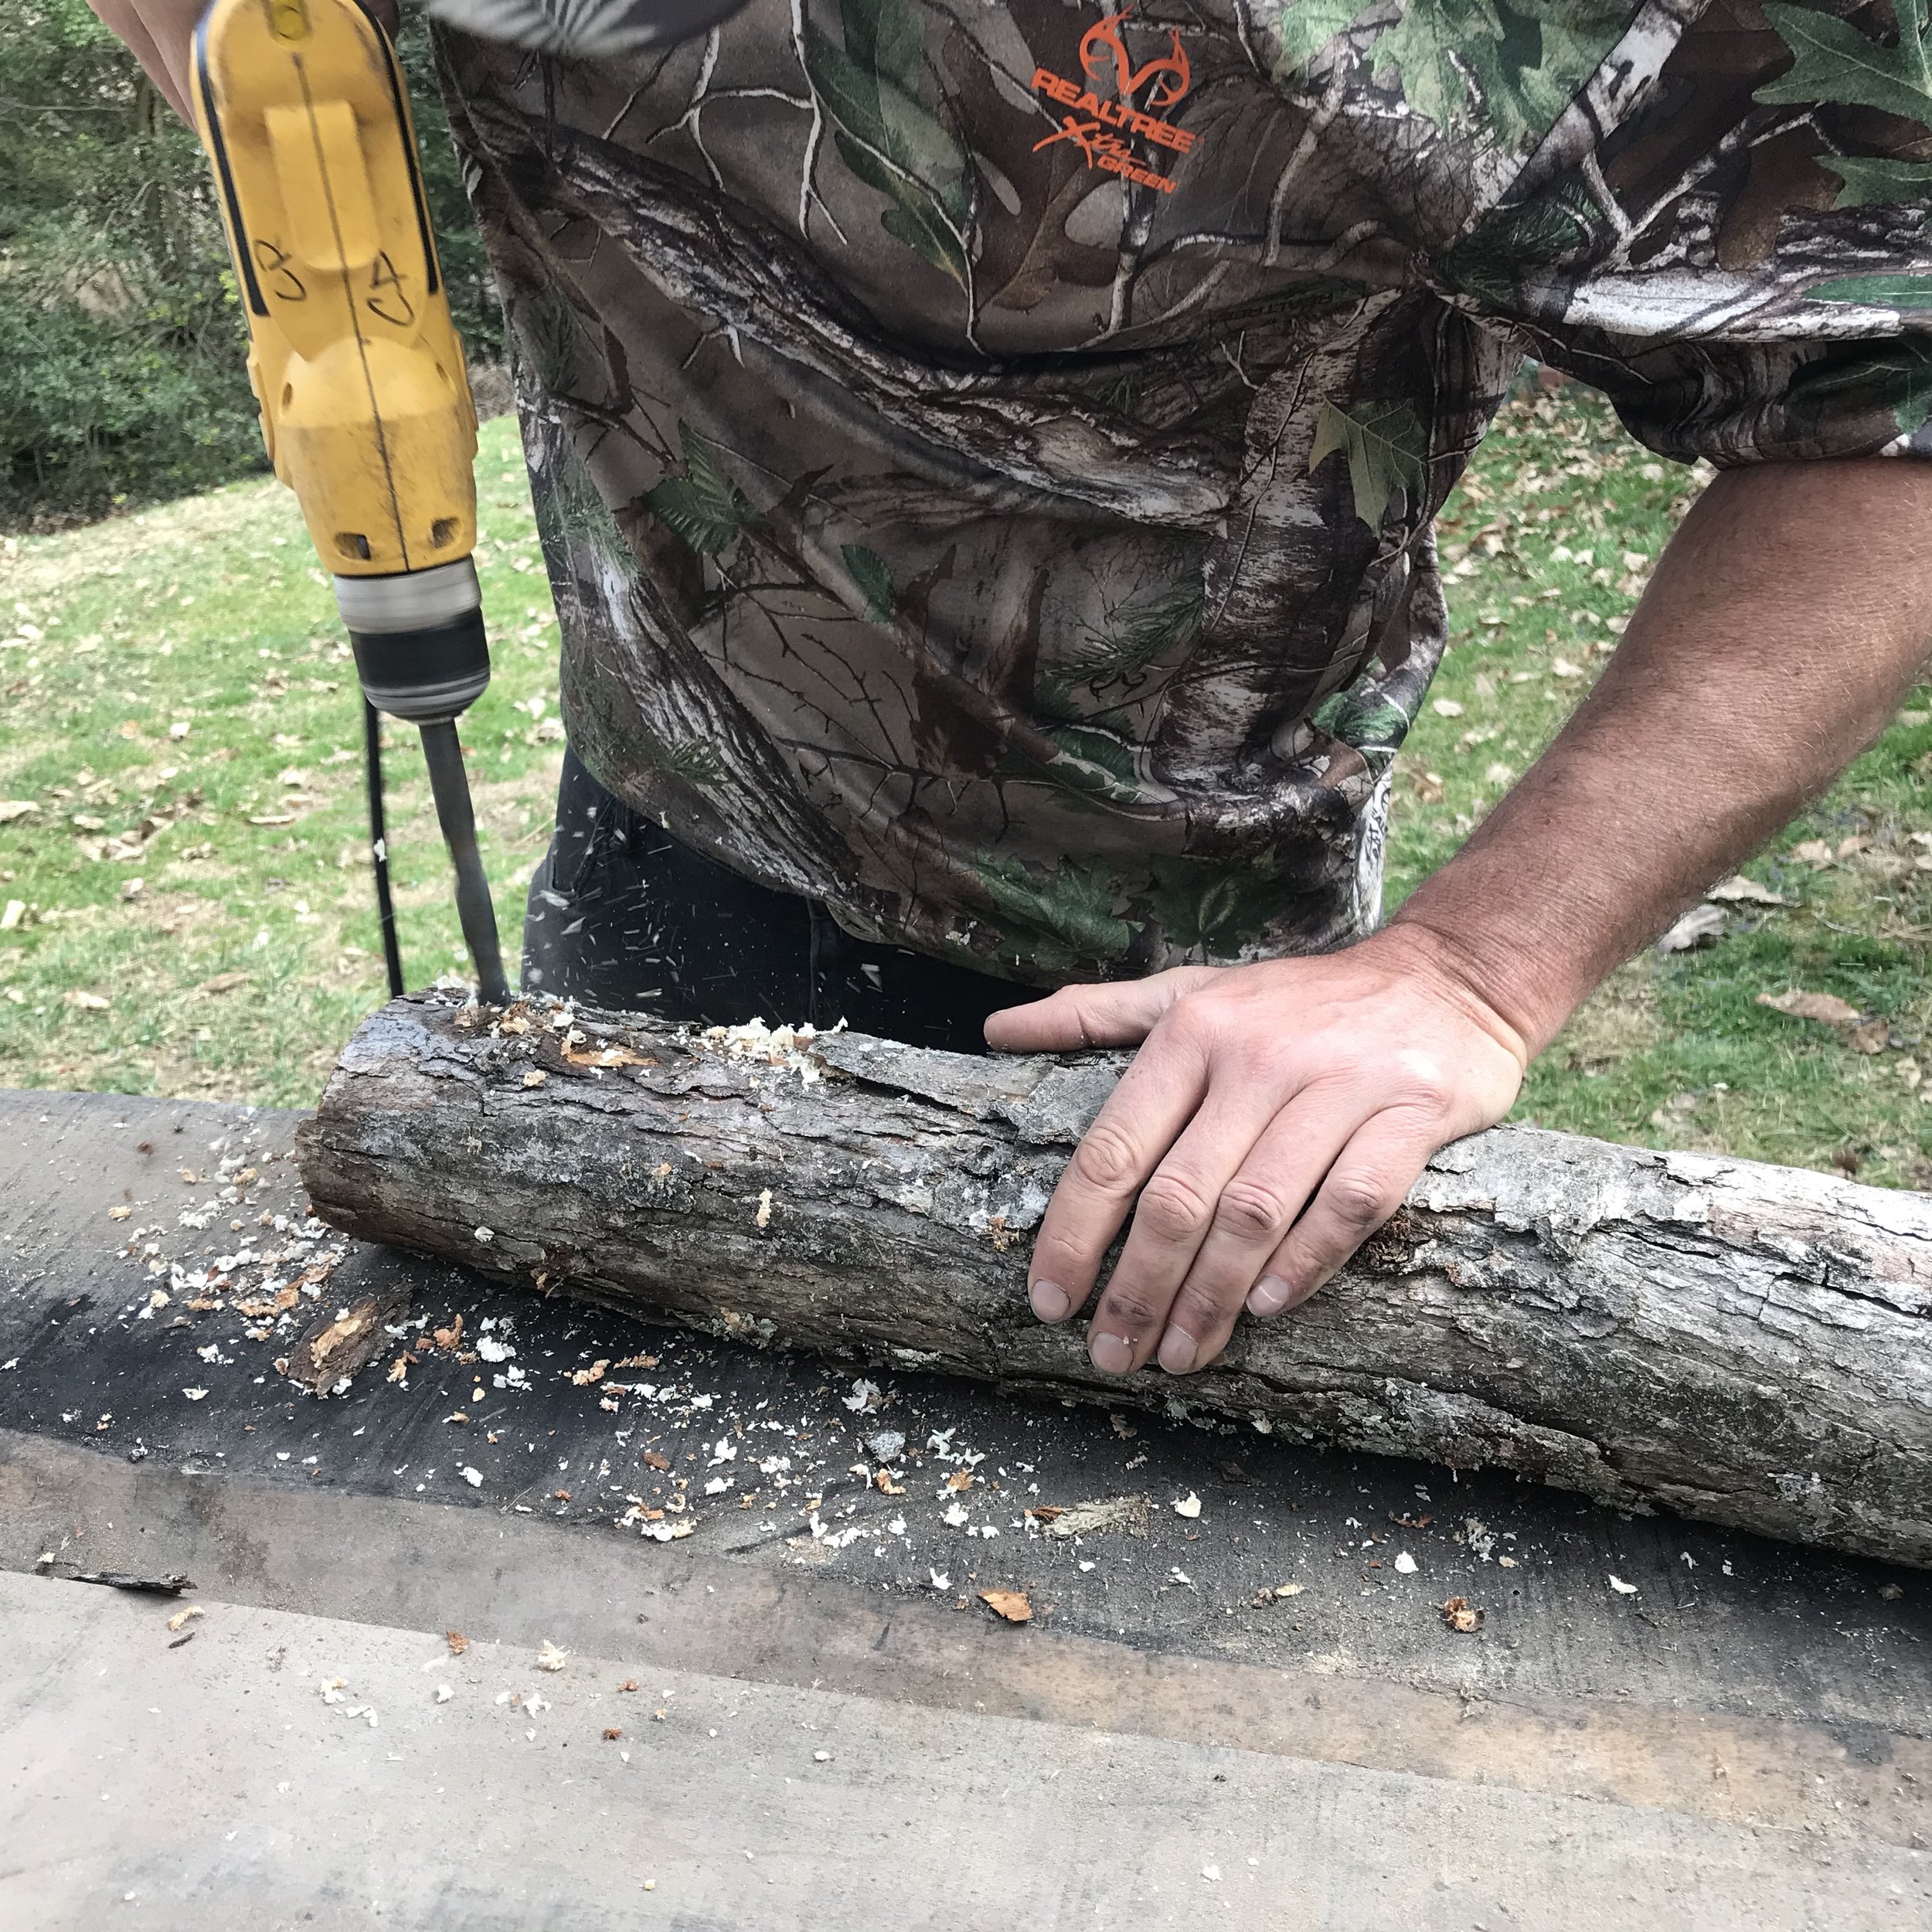
A drill with a 5/16 inch drill bit
Step 4: Drill the holes in the logs
Set yourself up a comfortable work space and start drilling holes to receive the plugs.
Drill holes starting two inches from the end of the log and spacing approximately six inches apart.
Make the rows of holes three to four inches apart along the girth of each log. For example, a four inch diameter log will have three rows of holes in a line, with each hole in the line six inches apart.
Drill the holes 1 1/4 inch deep.
Step 5: Insert the plugs into the holes
This is it! You are about to introduce vibrant, alive, mushroom mycelium into these logs.
Insert one plug into each hole you have drilled.
Gently bang them in with a mallet so they are flush with the surface of the log
Make sure you fill each hole.
Step 6: Cover the plugs with wax
Now you are going to seal the holes so your mycelium is protected from drying out or being eaten by tiny critters.
Use the paint brush to dab a little melted wax over each plug. Use just enough to cover the plug.
Make sure you get them all
Also cover with wax and places on the ends of the log where the bark has been nicked or damaged or anywhere smaller branches were trimmed off.
Step 7: Give them a drink
Your mycelium is in the log! Congratulations! Now give them a drink to help give the mushrooms a good start in life. There are two options here.
Plug your logs right before a good rain, let nature do the work.
Soak the logs after plugging in a tub of water for 24 hours.
Step 8: Take them to their home
Now it is time to take the logs to wherever they will live. This is the colonization phase, the mycelium you inoculated into the log will begin to colonize the wood before it is ready to fruit.
Your logs want to live somewhere:
In the shade. Under trees is perfect but an 80% shade cloth will work as will the north side of the house (not covered by the roof).
The rain will fall on them.
A water source is close in case you need to water them.
Step 9: Take care of them
They don’t need much at this point. Water is the only essential element. If it rains at least once every two weeks there is no need to do anything but tell your logs they are doing amazing!
If they don’t get rained on in any two week period then:
ideally give them all another 24 hour soaking. Don’t leave them in for more than 24 hours and make sure the bark dries out completely before you soak them again.
Set up a sprinkler for 12-24 hours to keep them wet.
Spawn Run:
The mycelium running through the wood eating the cellulose and lignin takes anywhere from four months to two years, depending on mushroom and wood species.
E.g. Oyster on poplar = four-six months.
Shiitake on White oak -12 months.
Be patient…. keep your logs hydrated and they will eventually make mushrooms.
Look for the ends of the logs to turn white with mycelium after a soaking rain as a sign that the spawn run is nearly complete.
At this point, you can force your logs to fruit by soaking them for 24 hrs. If the weather conditions are right for the species that you are cultivating they will fruit naturally on their own. If you continuously force fruit your logs they will not last as long.
Extra Notes:
1. Oysters, Shiitake: The easiest to fruit species; can be fruited above ground stacked in a pile or leaning against a fence or tree. Soak, stack, harvest. Keep in mind that the more often you force your logs to fruit the shorter their life expectancy is. We recommend a 4-6 week resting period between forced fruiting. Shiitake logs benefit from a strike to initiate a good flush. Strike the ends with a baseball bat or wooden mallet after soaking, but avoid damaging the bark.
2. Reishi: More of a challenge to fruit; half bury the logs either horizontally or vertically once the spawn run is nearly complete. You can bury short sections in planters with potting soil. This is especially effective for Reishi. Reishi can also be fruited directly on the ground, without burying.
3. Lion’s Mane: Patience! Depending on the wood species it can take 1-3 years for it to start producing. The woods that produce the fastest (but will not last as long) are softer woods such as: maple, tulip poplar, willow, or paulownia. Woods that take longer to start producing (but will last longer) are harder woods such as: any oak species, hickory, or black walnut.
Join us for a class!
We teach afternoon, day-long and weekend classes at The Forest Farmacy in the Blue Ridge Mountains.
Check out our current classes.


